Attention all photography enthusiasts! Are we tired of taking the same old boring shots? It’s time to step outside our comfort zone and experiment with our cameras. Experimental photography offers many creative possibilities, from light painting to double exposure.
In this blog post, we will explore the art of experimental photography and show us how to take our photos to a whole new level. So let’s grab our camera and start this exciting journey together!
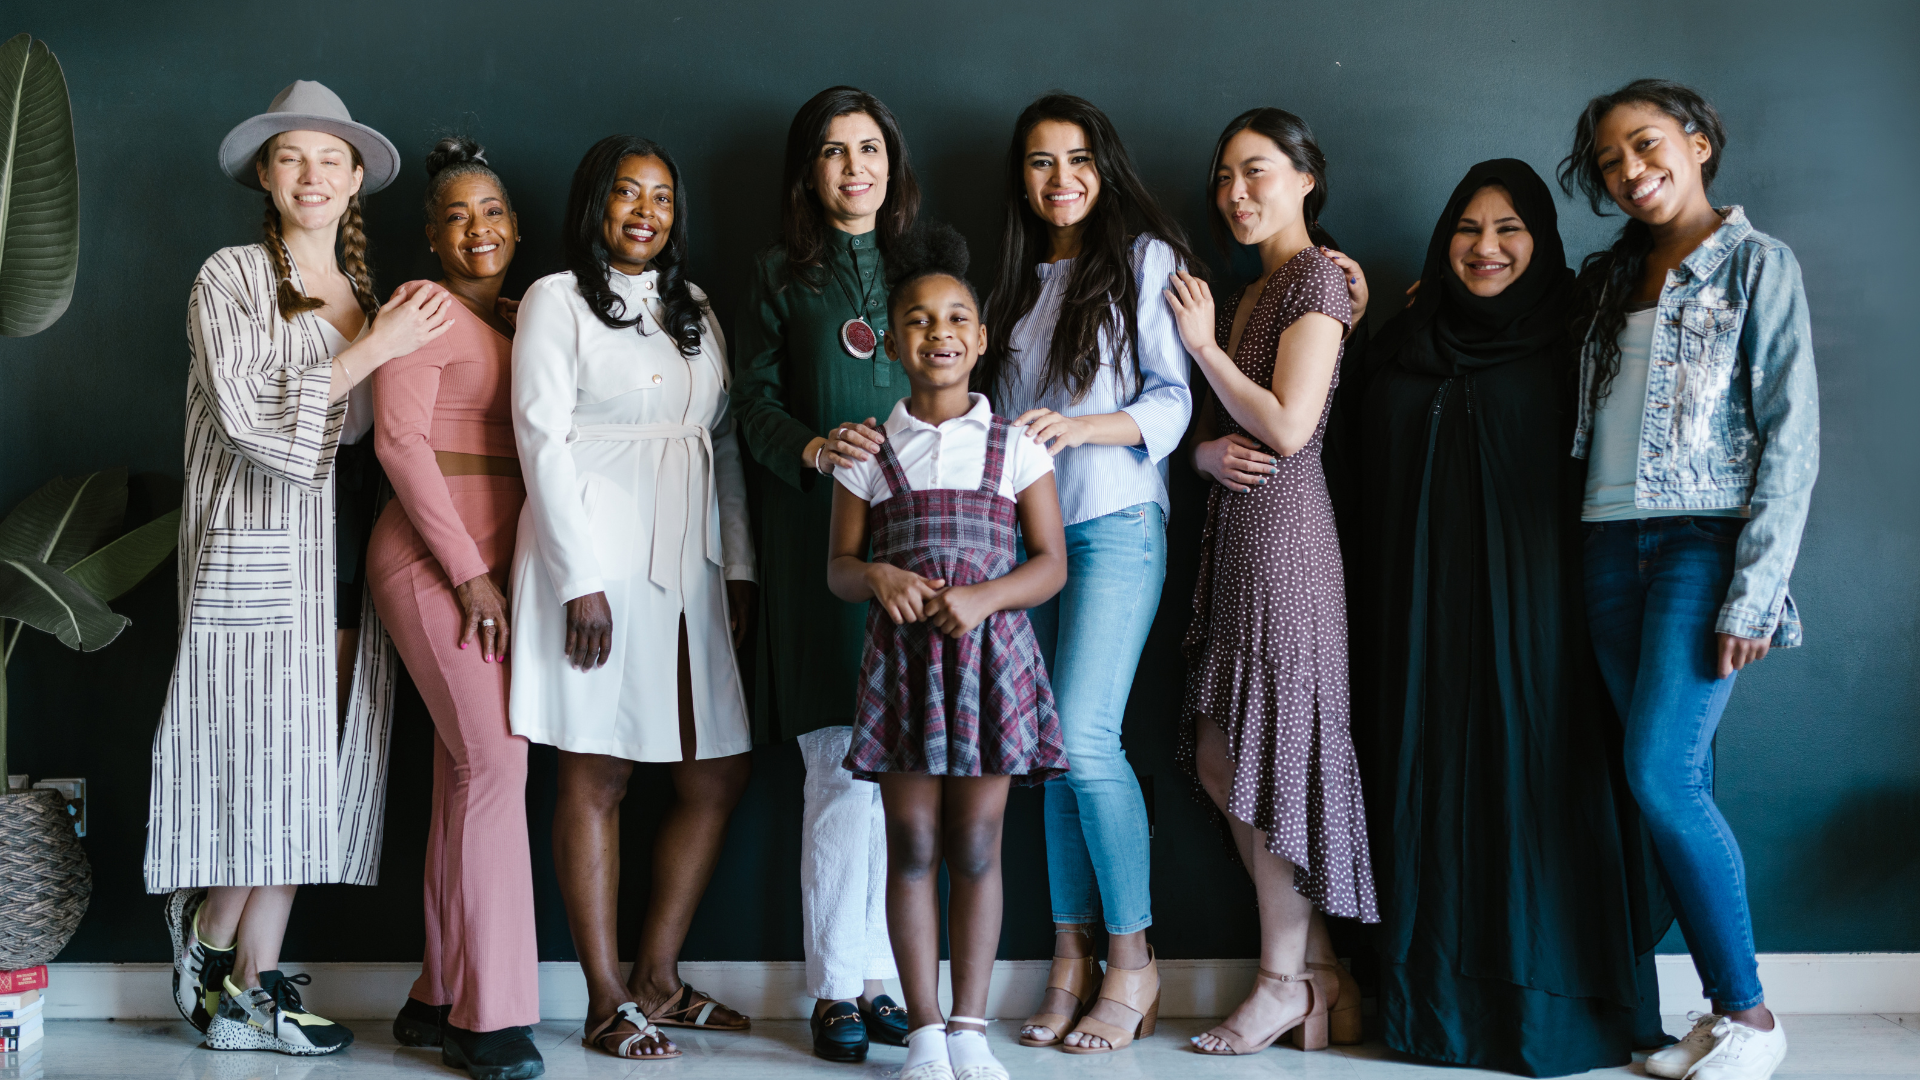
Finding Beauty in the Unexpected
The world is incredibly diverse and beautiful, and there’s no need to be limited by what’s considered “normal” when it comes to photography. There are endless possibilities for creative and unconventional subjects when we explore the world beyond what is commonly seen. Here are a few examples of unconventional subject matter that can inspire our photographic creativity:
Abandoned or Derelict Buildings
Capturing these structures’ eerie, abandoned feel is a great way to create unique images that show off their beauty in an unusual way.
Food
There’s plenty of inspiration to draw from, whether we’re taking pictures of delicious food as part of a culinary photo series or capturing bizarre or whimsical scenes involving food.
Urban Landscapes
Even the busiest cities have many nooks and crannies that can make great photos if we know where to look. Look for streetscapes with interesting architecture or capture reflections in water or shiny surfaces to add depth and intrigue to our shots.
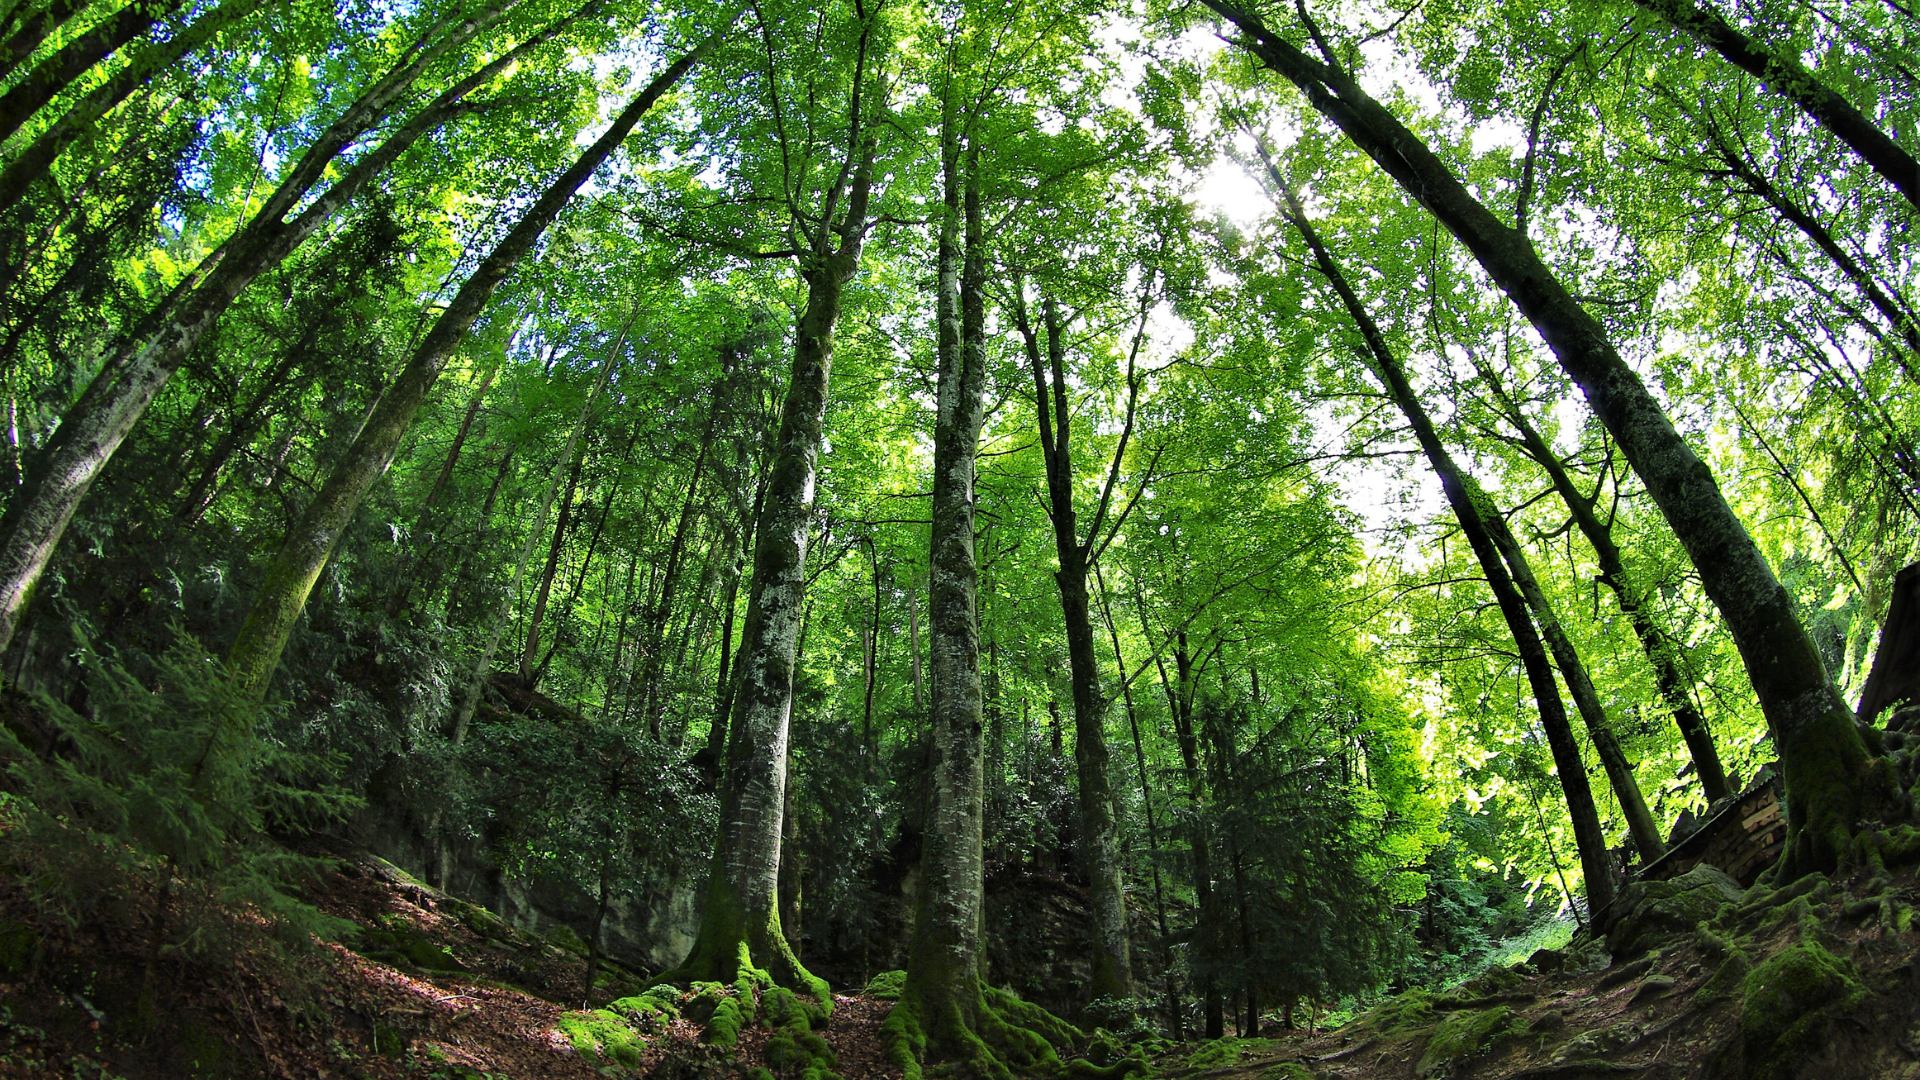
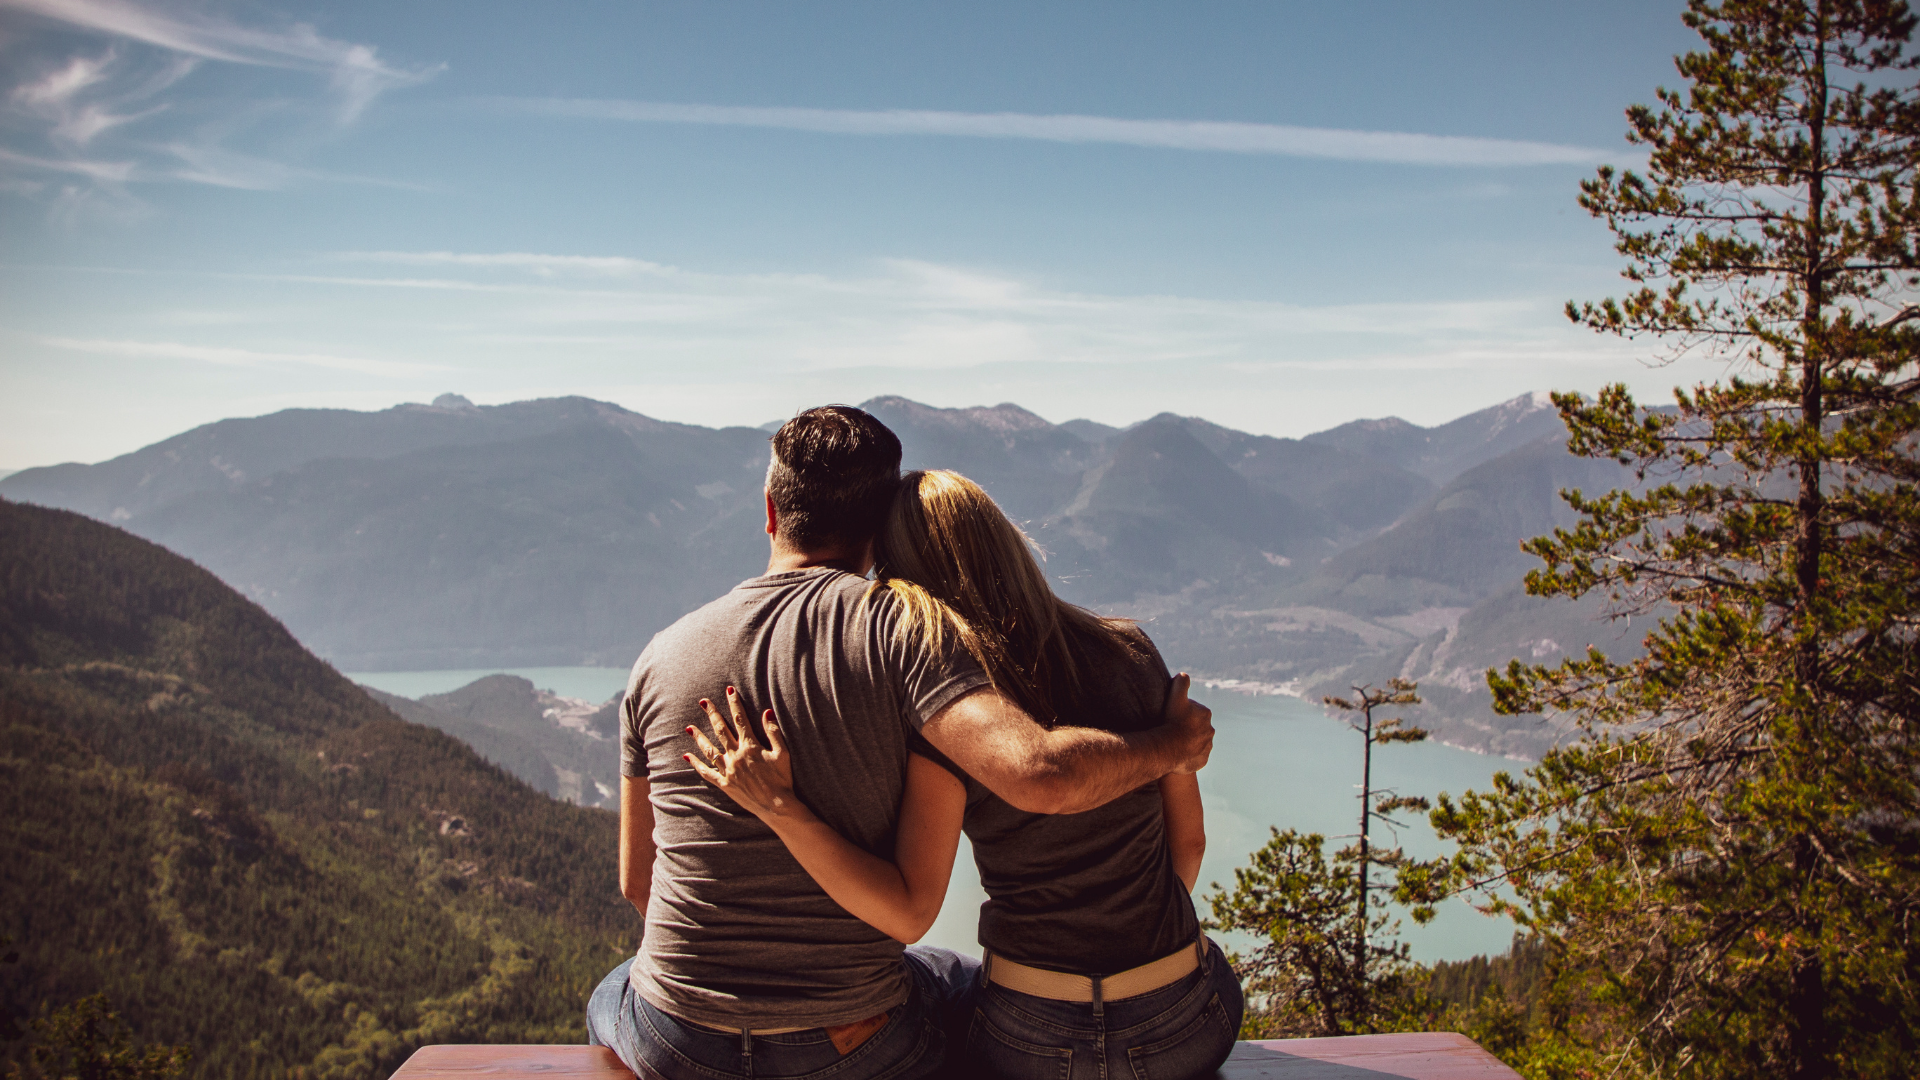
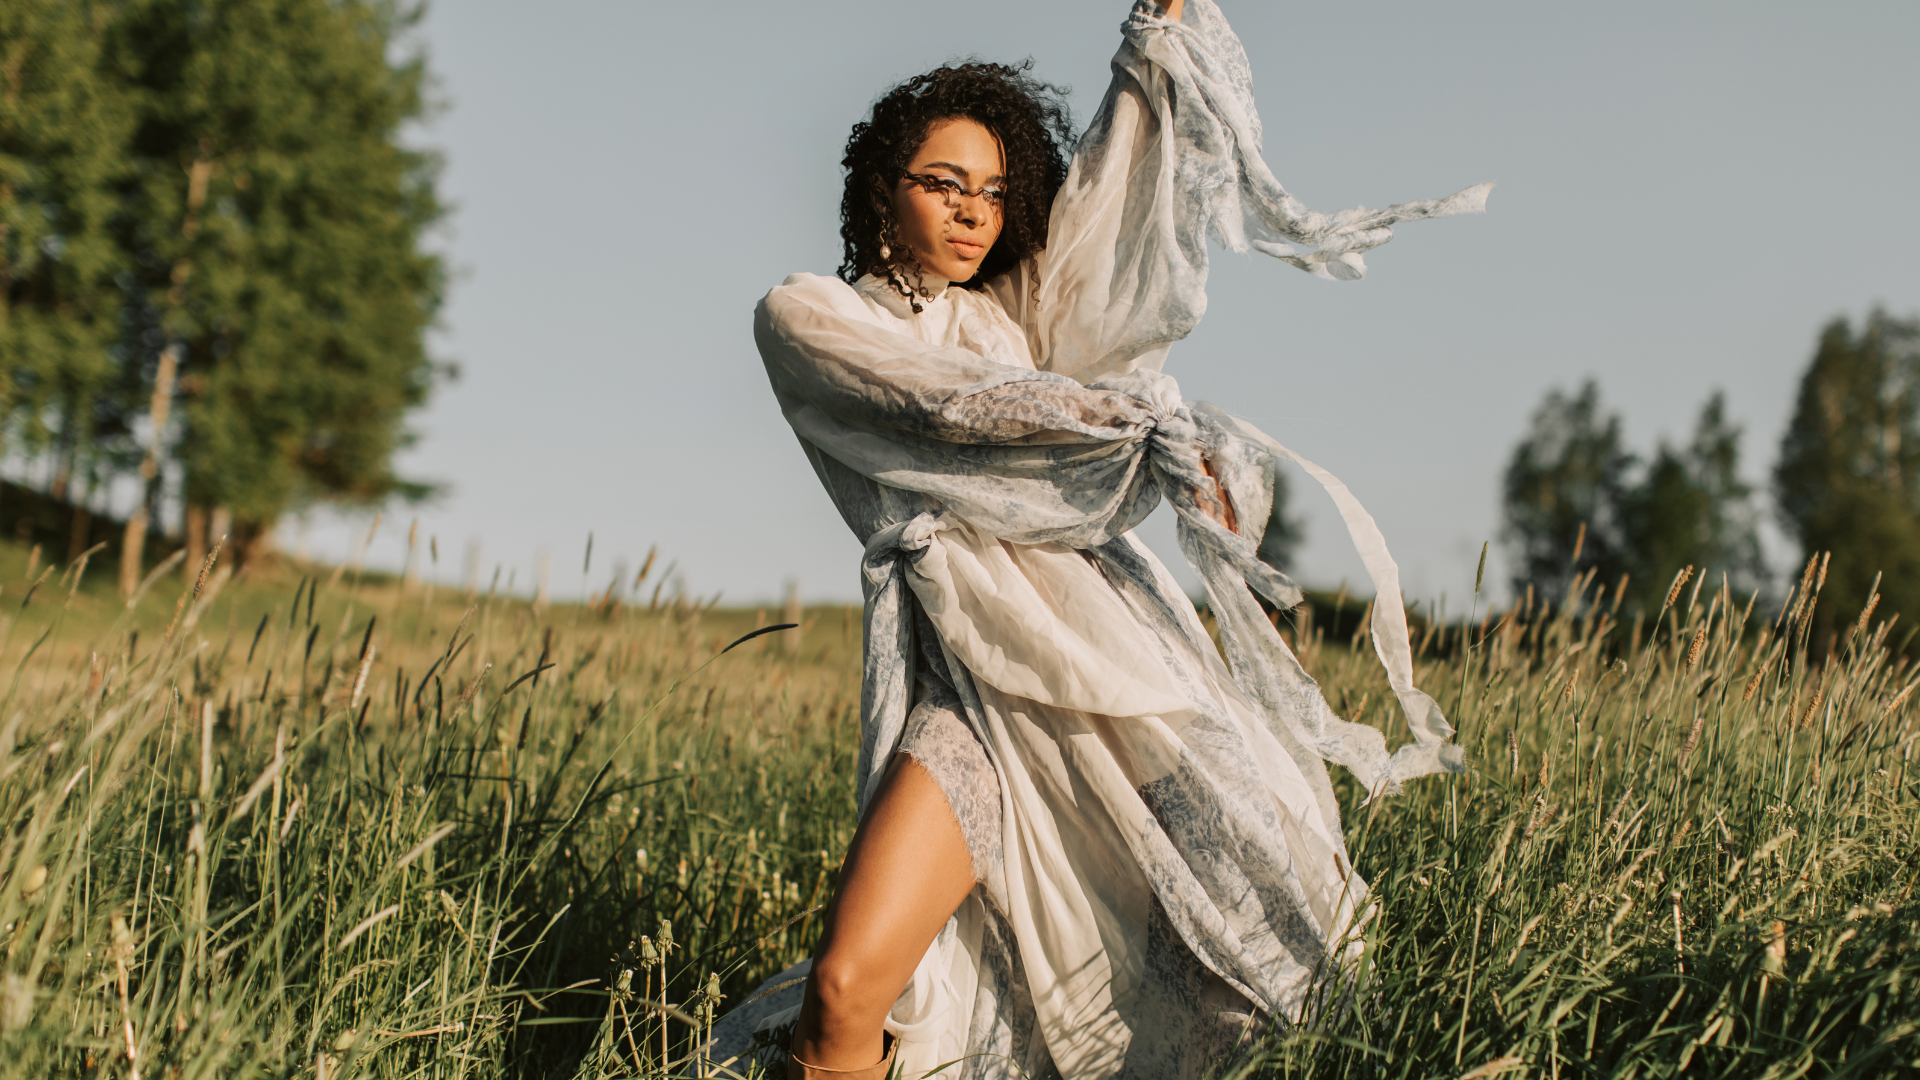
Natural Elements
From sunrise over the ocean to crisp autumn foliage, nature is always full of striking details that can be captured beautifully in photos. If we’re up for a challenge, try shooting in low-light environments with unpredictable weather conditions – the results will be well worth it!
There’s no limit to the beautiful and unique photos we can take when exploring the world beyond what is commonly seen. Start experimenting with our photography skills and see what exciting possibilities await.
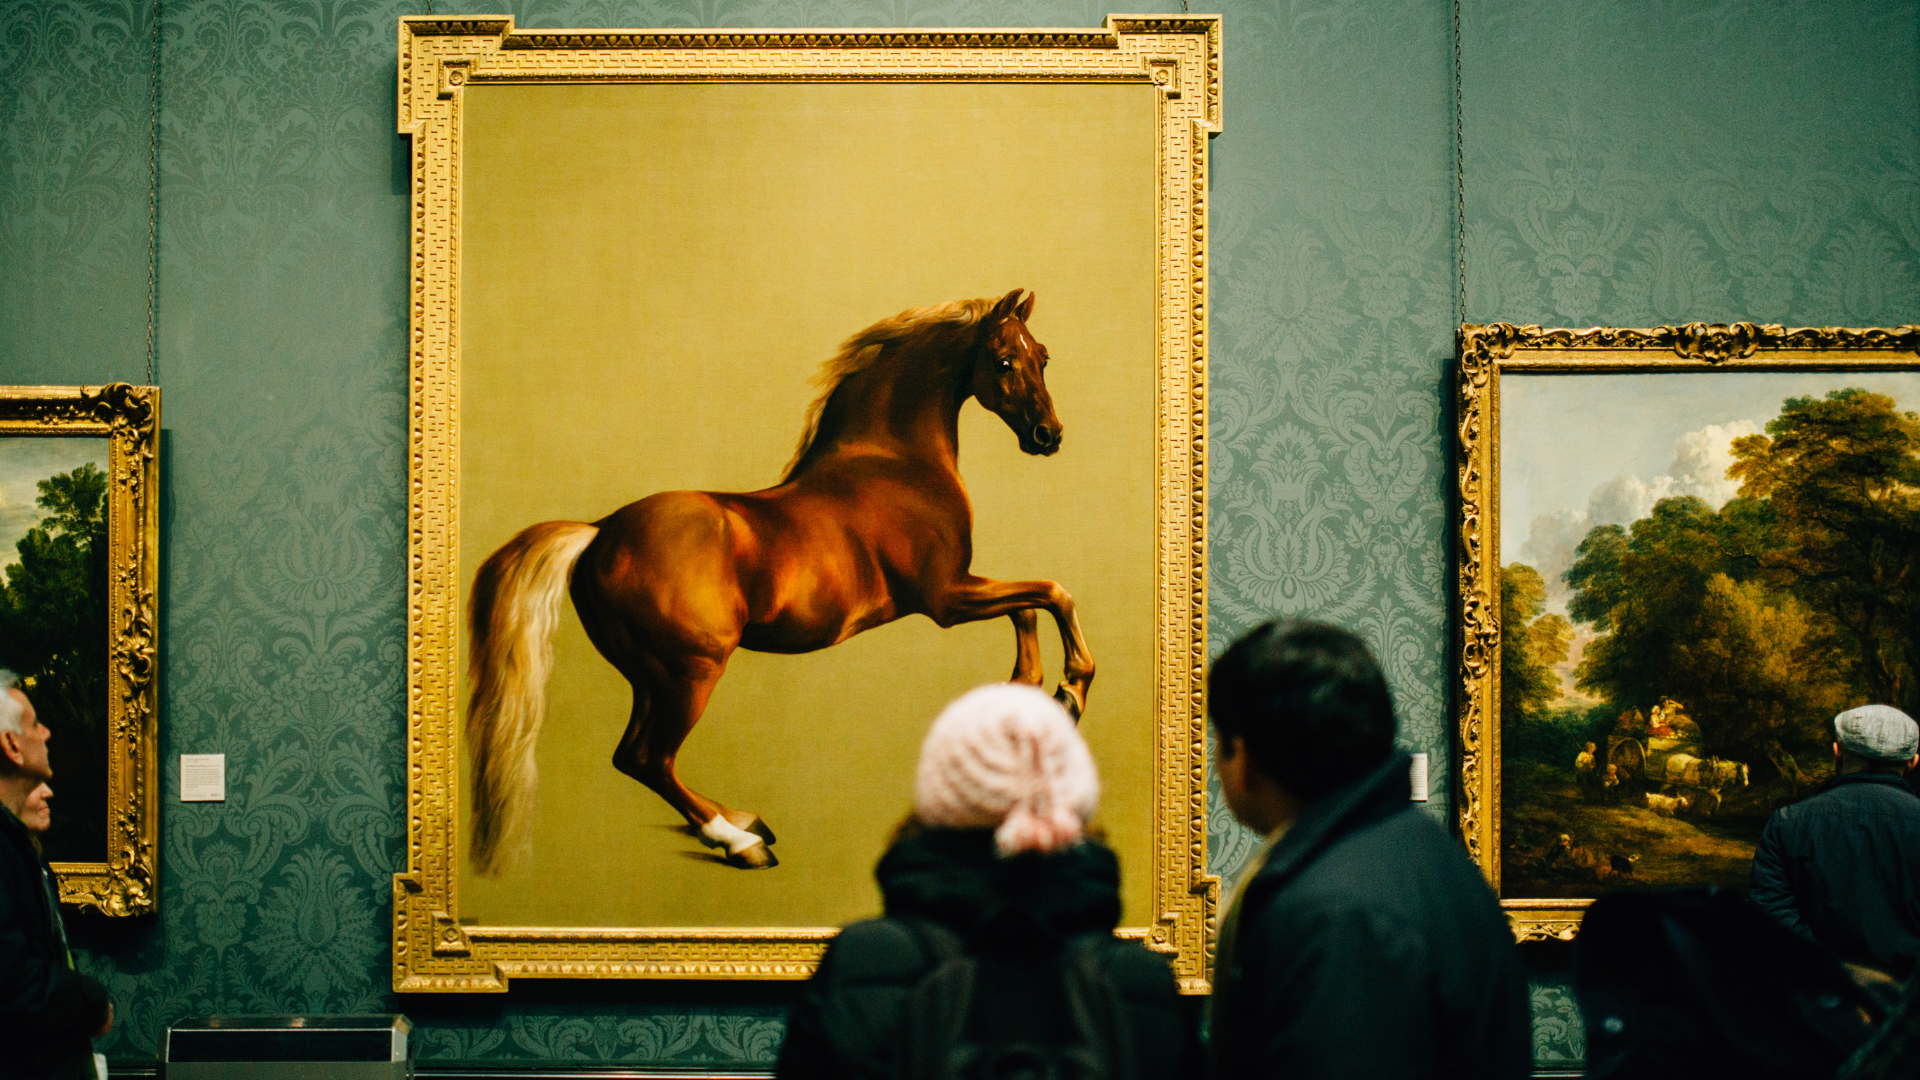
The Power of Abstraction
Experimental photography is about pushing the boundaries of what can be captured through the lens. By abstracting away details, photographers can capture a more universal and ethereal quality in their images. There is a power in abstraction that can be difficult to achieve, but it’s well worth the effort.
This allows for a more open interpretation of the photograph and can lead to more creative photographs. Abstract photography has been around for centuries but has recently seen a resurgence in popularity due to its ability to create unique images that are not easily replicated.
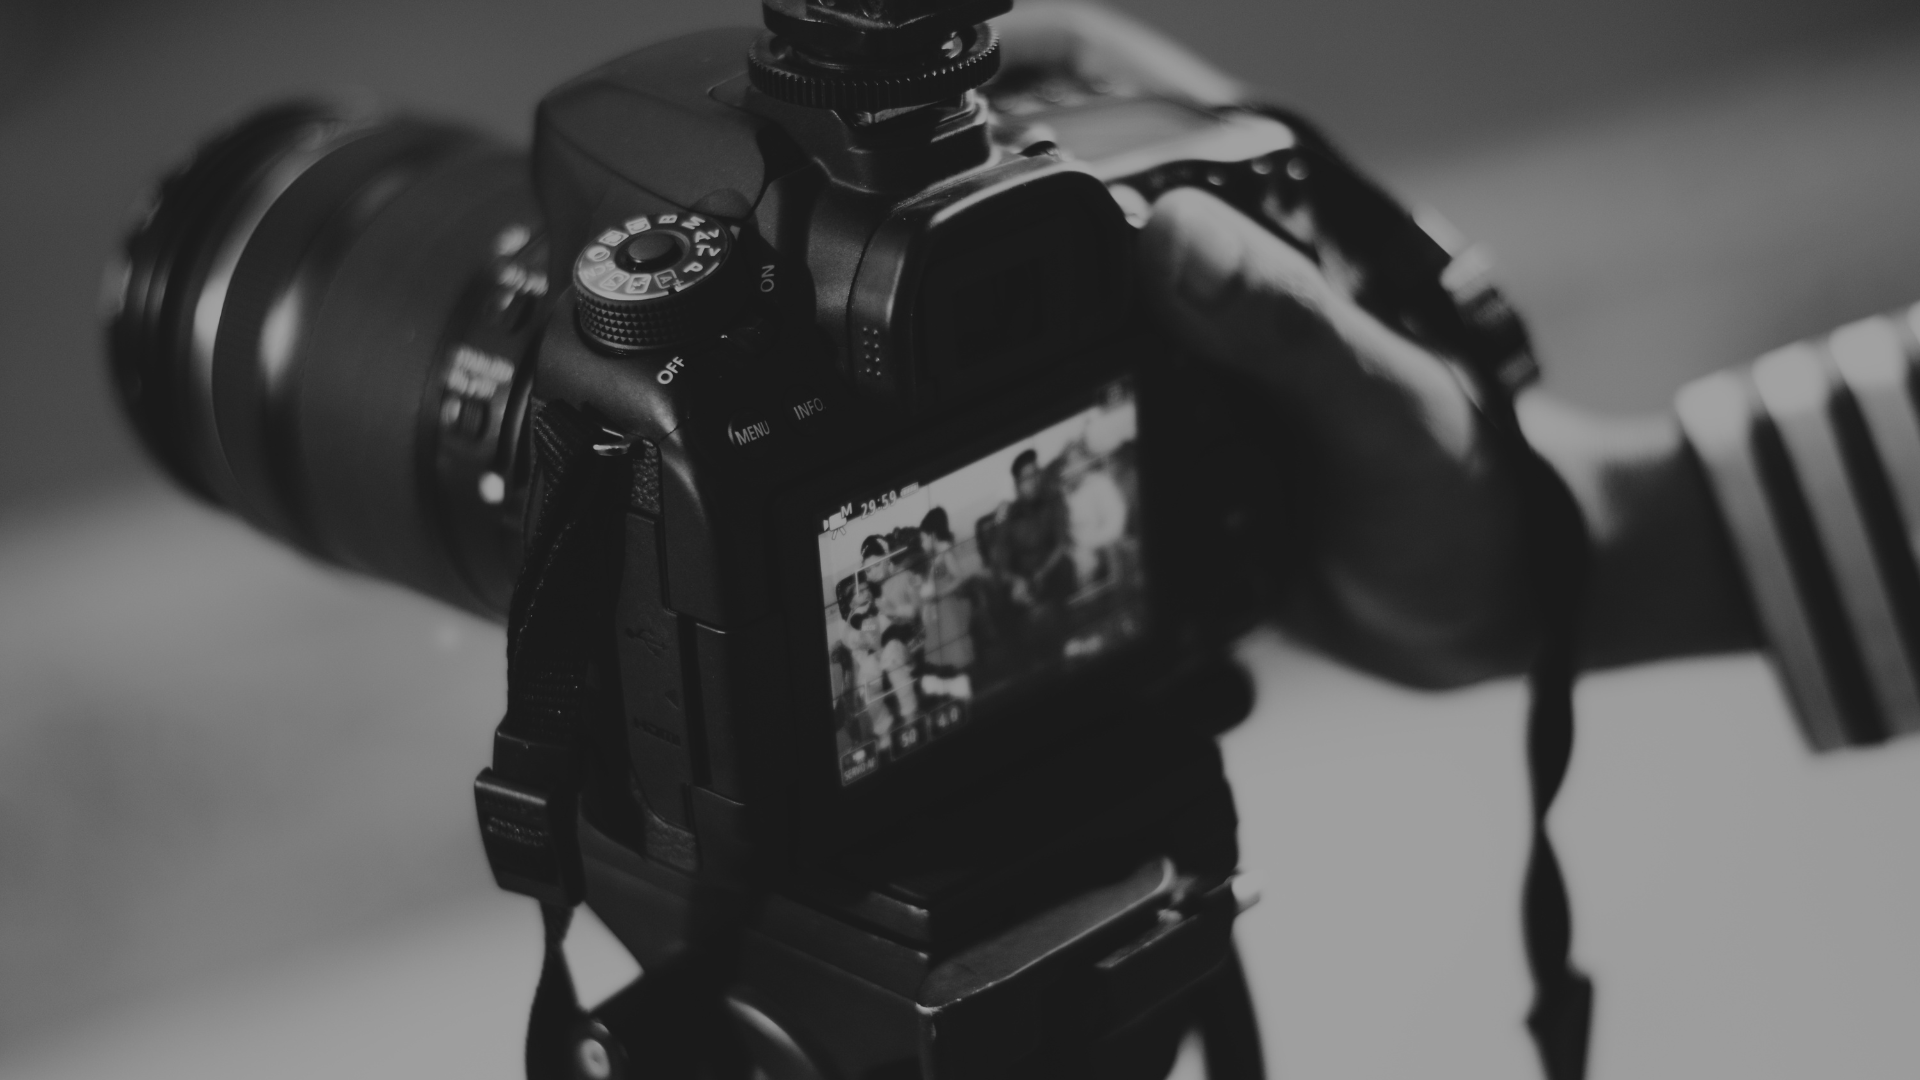
One of the best ways to achieve abstraction is by shooting in black and white. This format allows us to emphasize shadows and highlights, creating an incredibly striking image. When working with colour, it’s essential to use a light hand. More colour can overwhelm the image and take away from its impact.
Another key element of experimental photography is experimentation. Feel free to try new things with our photograph and see what happens. The sky is the limit!
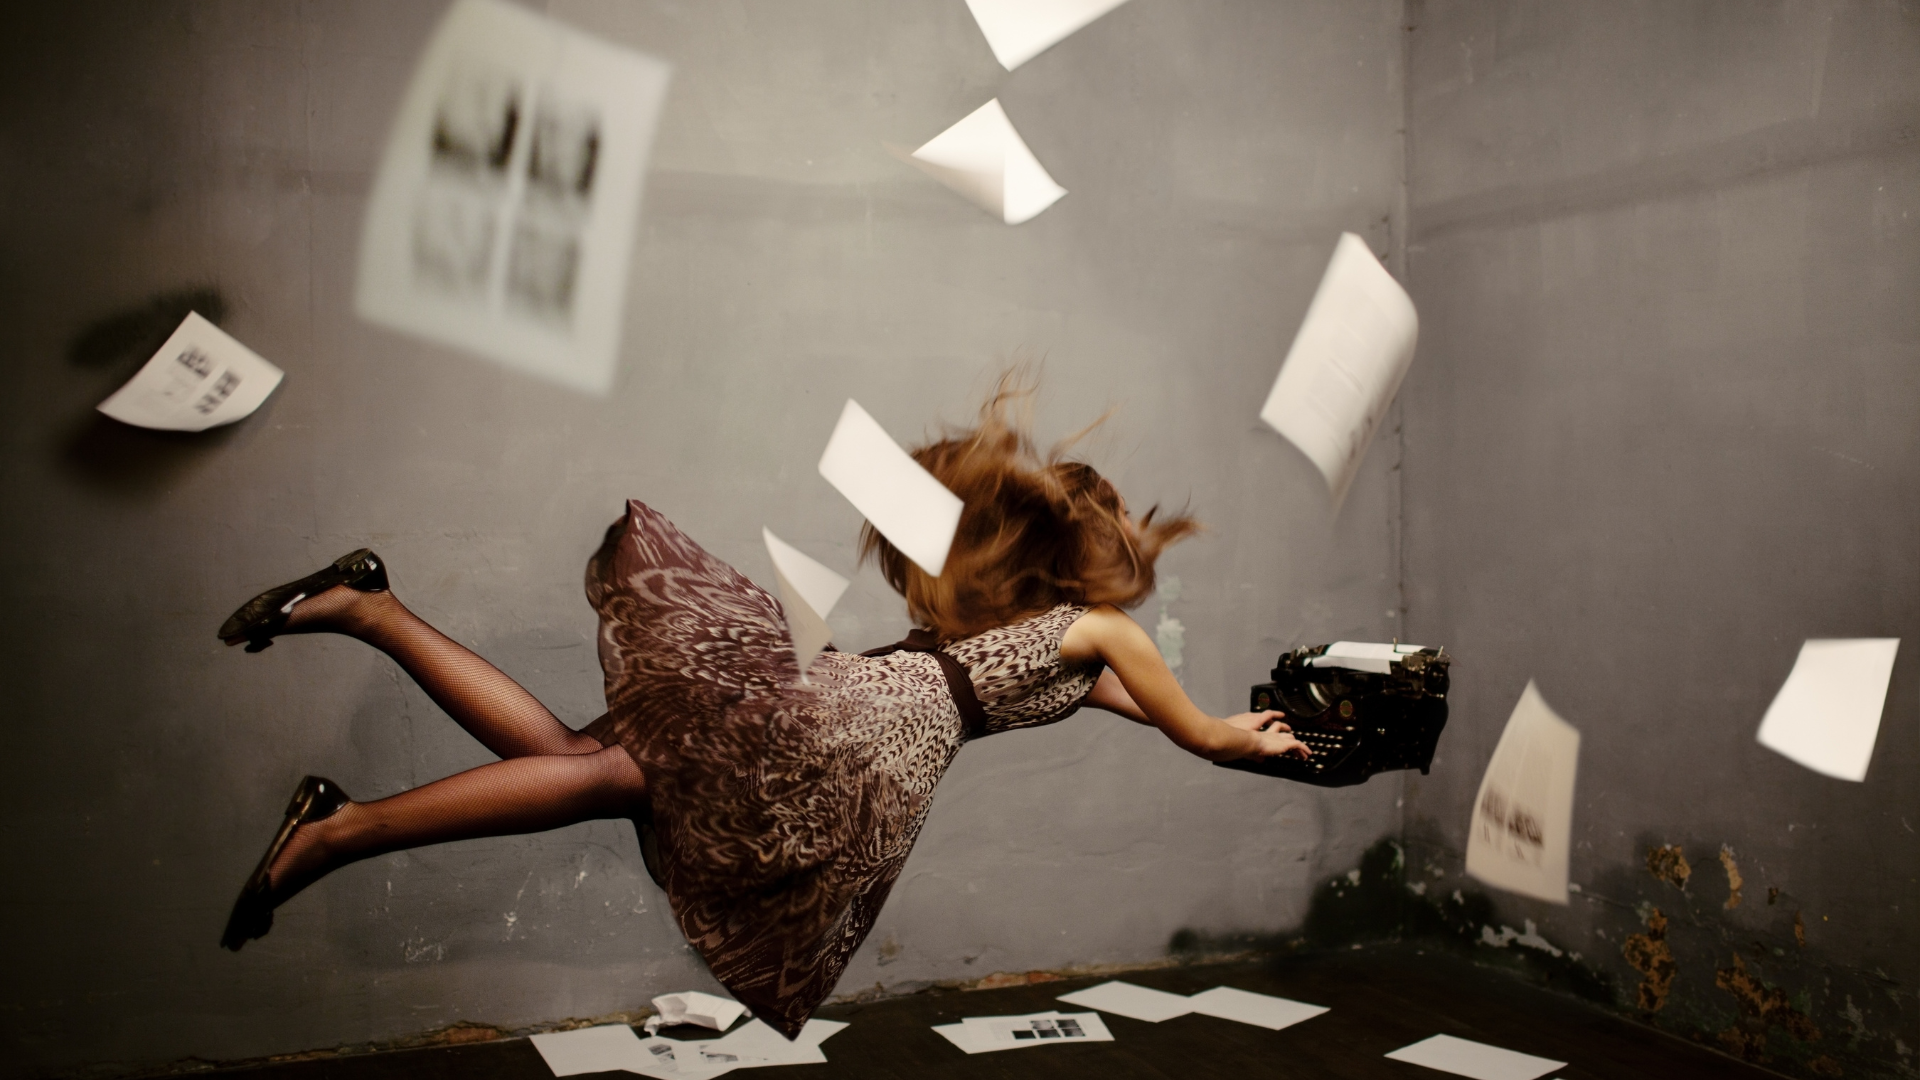
Playing With Scale and Perspective
Creating surreal and mind-bending images can be as easy as playing with scale and perspective. By manipulating these elements, we can create whimsical and strangely beautiful images.
For example, take a picture of a small object placed next to a large one. The large object will appear larger than the small one, even though they are the same size. We’re looking at them from a distance or a different angle.
Another way to create surreal images is to distort normal proportions, for example, by taking a picture of someone’s head on top of their body or vice versa. This distorts the proportions, making them appear strange and out of place.
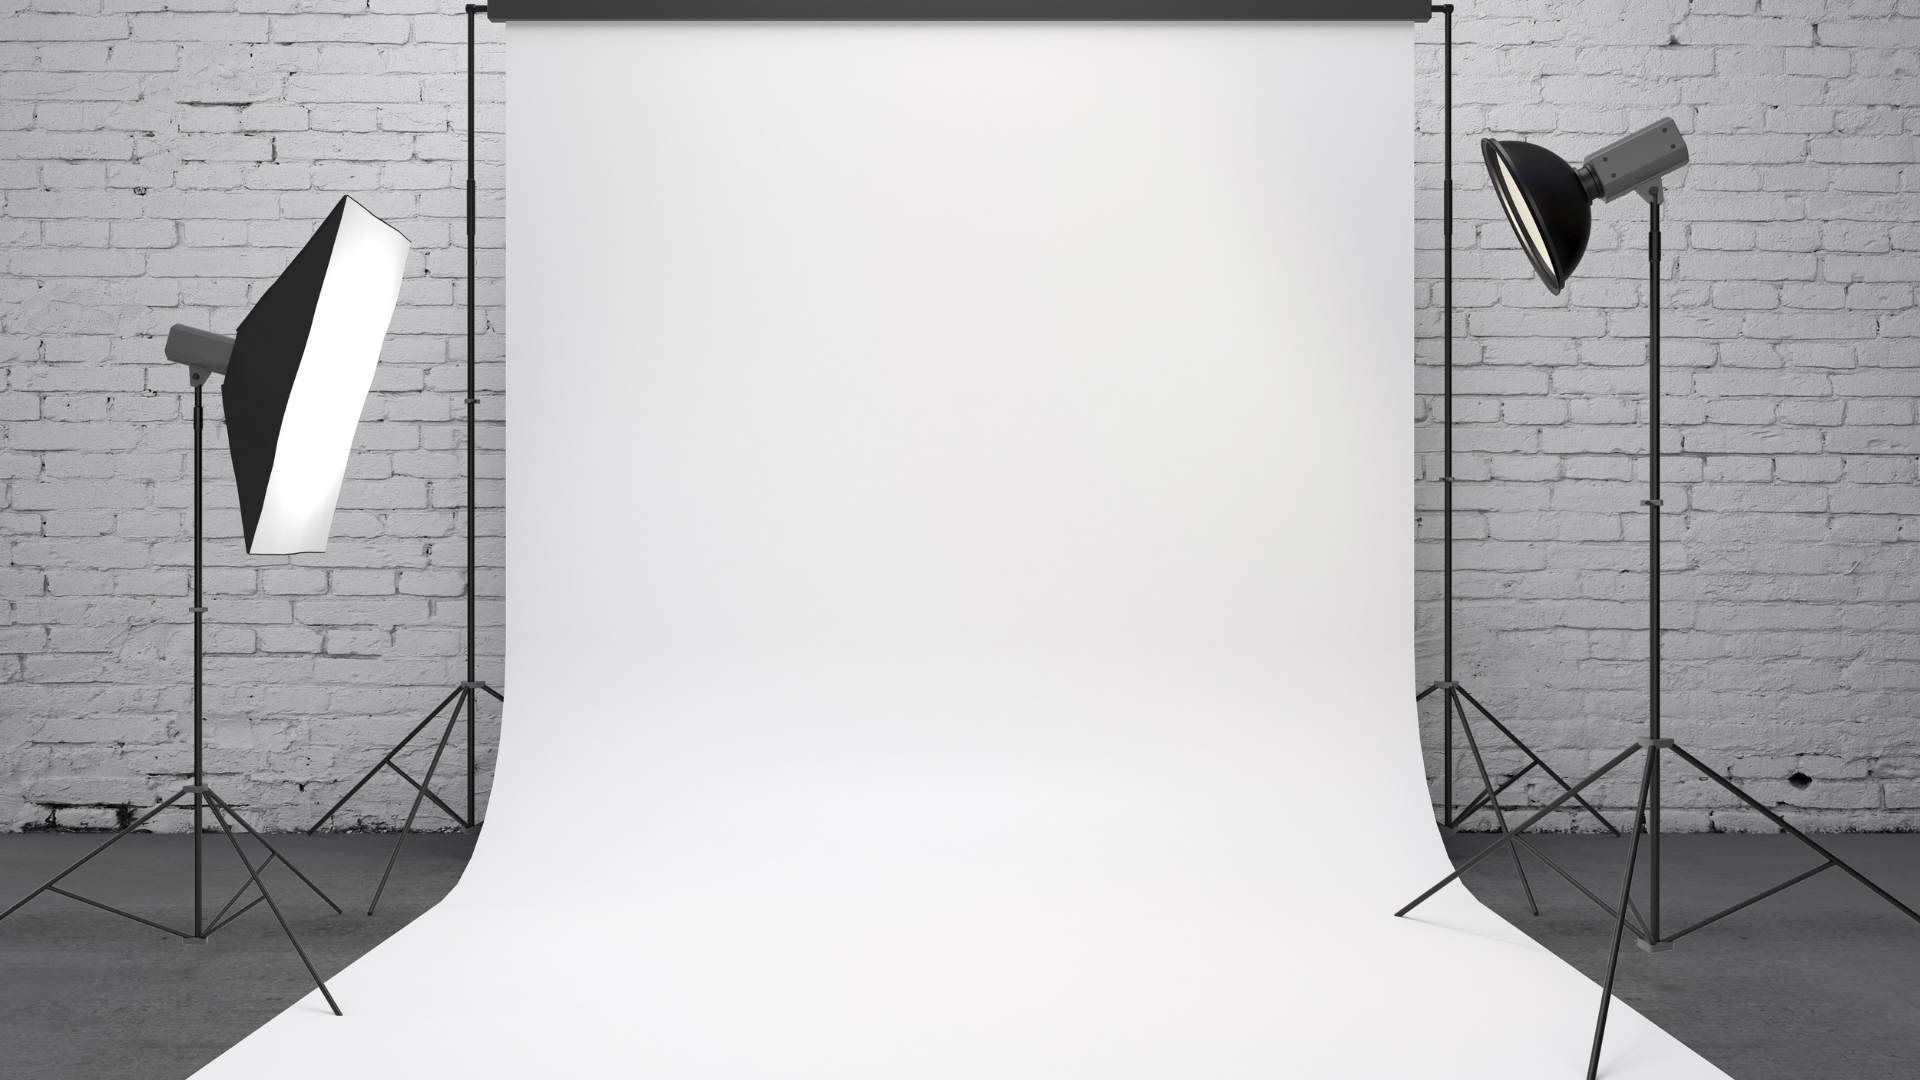
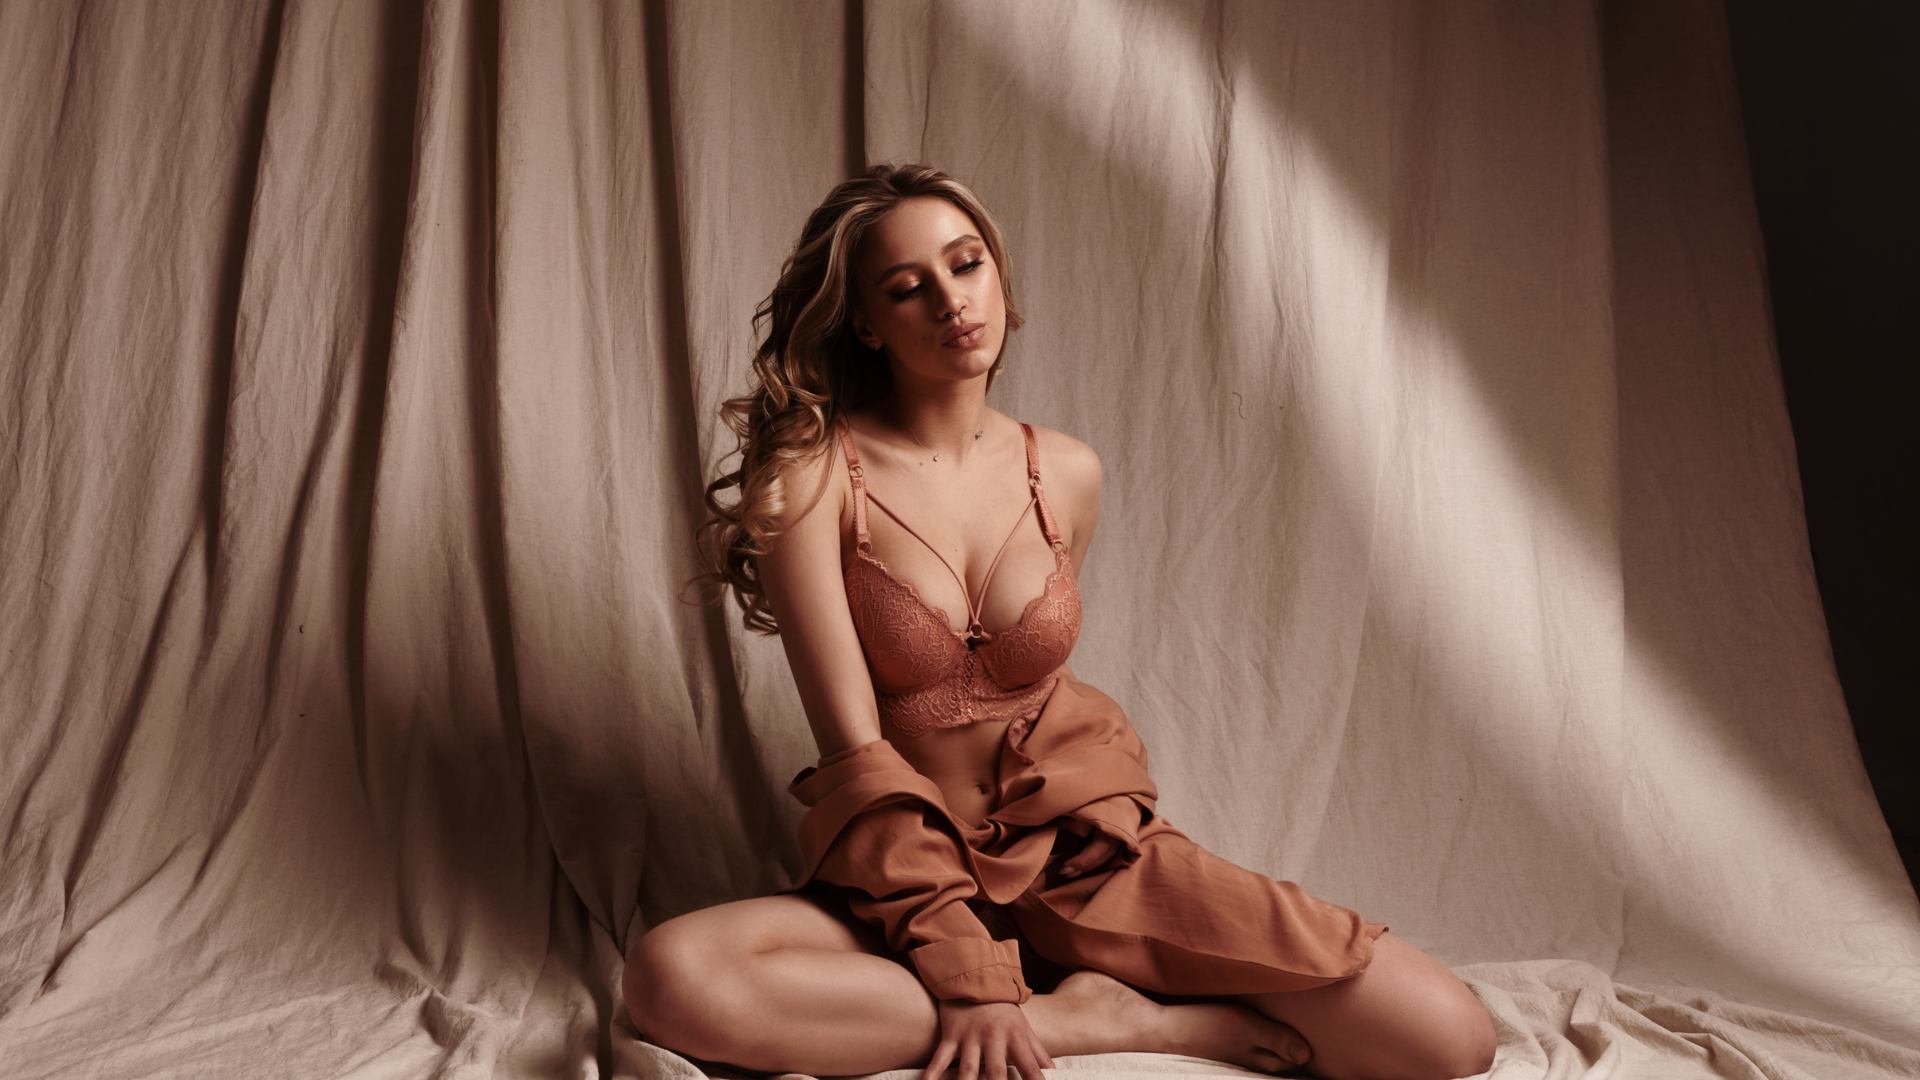
Play with light and shadow to create interesting effects. For example, put our subject before a bright light source and let the shadows fall across their face or body interestingly. Or use light sources to highlight specific parts of our subject’s hair or clothing, creating a more dramatic look overall.
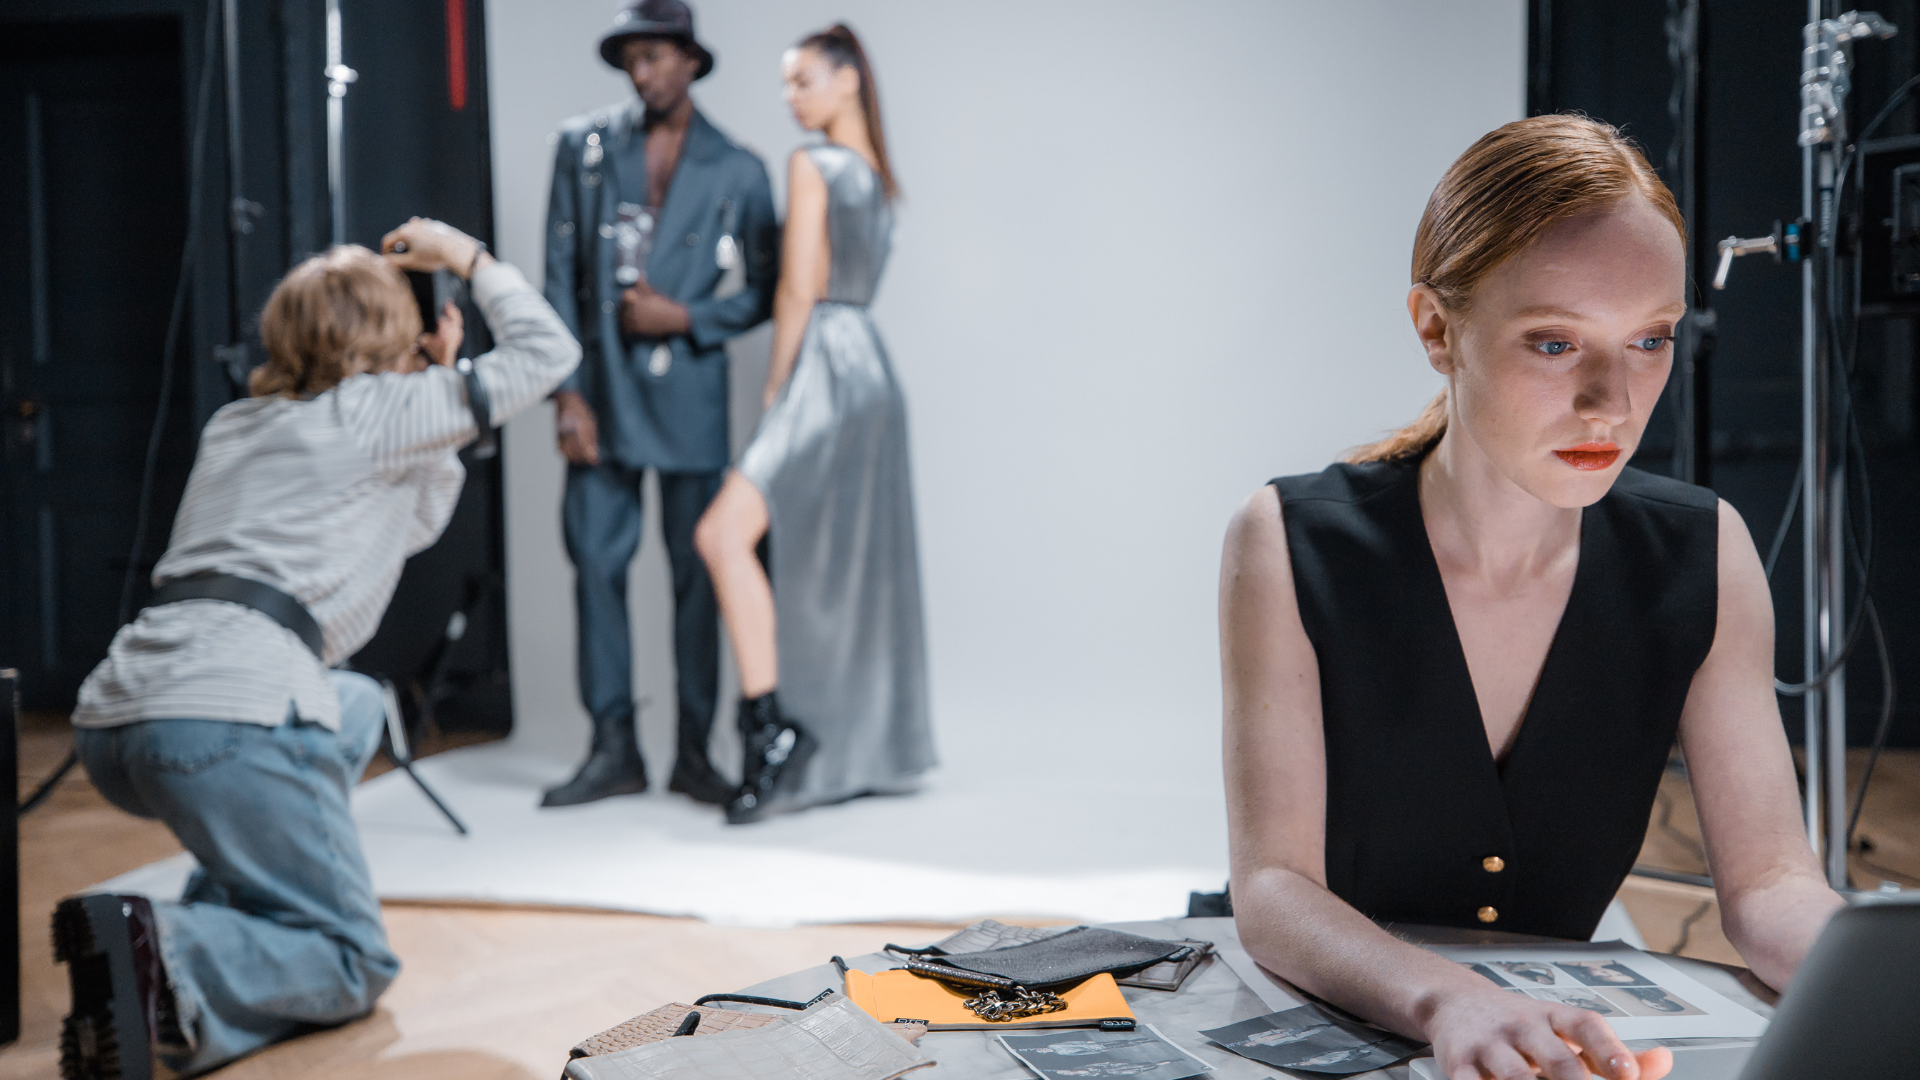
Experimental Photography
Experimental photography is all about embracing change and mistakes. It’s about taking risks and working with what we have instead of relying on perfect conditions.
One of the best ways to embrace change in our photography is to use apertures other than our regular shooting apertures. Aperture can limit creativity, so a wider aperture allows more light into the camera and gives us more leeway when making mistakes.
Another way to embrace change is to experiment with shutter speeds. Shutter speeds allow for freeze-frames or motion blur, adding an interesting element to our photos. And finally, feel free to mix different types of film. Doing so can give us some impressive results we might not get from shooting with just one type of film.
Experimental photography is all about taking risks and working with what we have. We’ll create unique and full-of personality photos by embracing change and making mistakes.
Creating Vibrant and Surreal Images
Experimental photography is all about pushing the boundaries of what can be photographically captured. By using unconventional methods, photographers can create unique and visually arresting images.
One of the main benefits of shooting in RAW format is that it allows us to adjust our images later without losing data. This gives us more control over our images’ appearance, which can help us achieve more creative results.
A wide-angle lens will give us an interesting perspective distortion effect if we want to create surrealistic images. We can also use this technique to emphasize some aspects of our image while minimizing others, giving our photo an interesting visual appeal.
By manipulating the length of our exposure time, we can create stunning depth-of-field effects that cause objects in close proximity to become blurry. At the same time, other areas remain sharp – giving our photos a unique and evocative look. Additionally, lengthy exposures often result in beautiful colours that are harder to achieve with shorter exposures – so don’t be afraid to experiment!
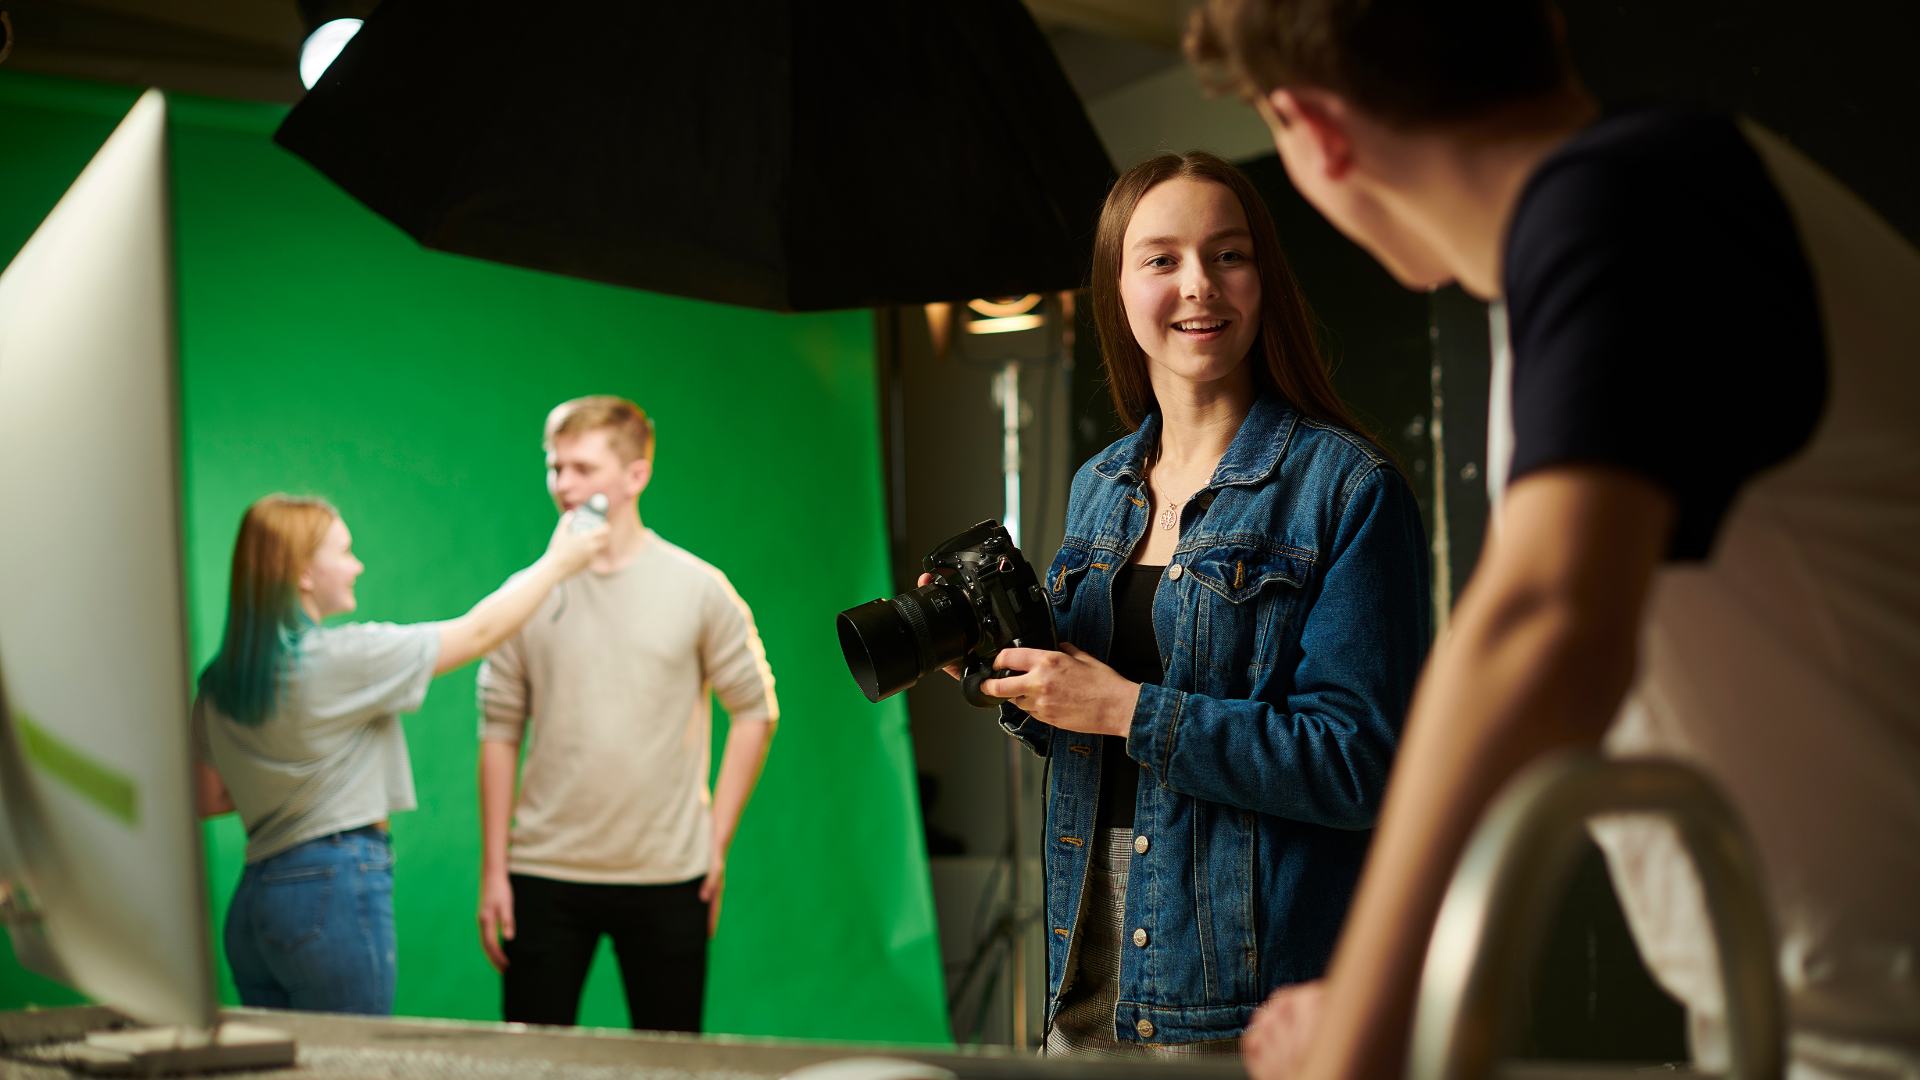
Unleashing Our Creativity
If we are interested in photography as an art form, there is no better place to start than experimentation. We can create unique and original images by experimenting with different settings and camera angles. This is the perfect opportunity to start if we have never tried experimental photography. We can create stunning images that amaze our friends and family with some practice.